Technical Information · issue 6 of 2007
New STIHL carbon shaft extension
IssueTI 6/2007
Full text
Page 1 of 4
Text of page 1 — search, copy, screen readers
STIH)

Technical Information                                            06.2007

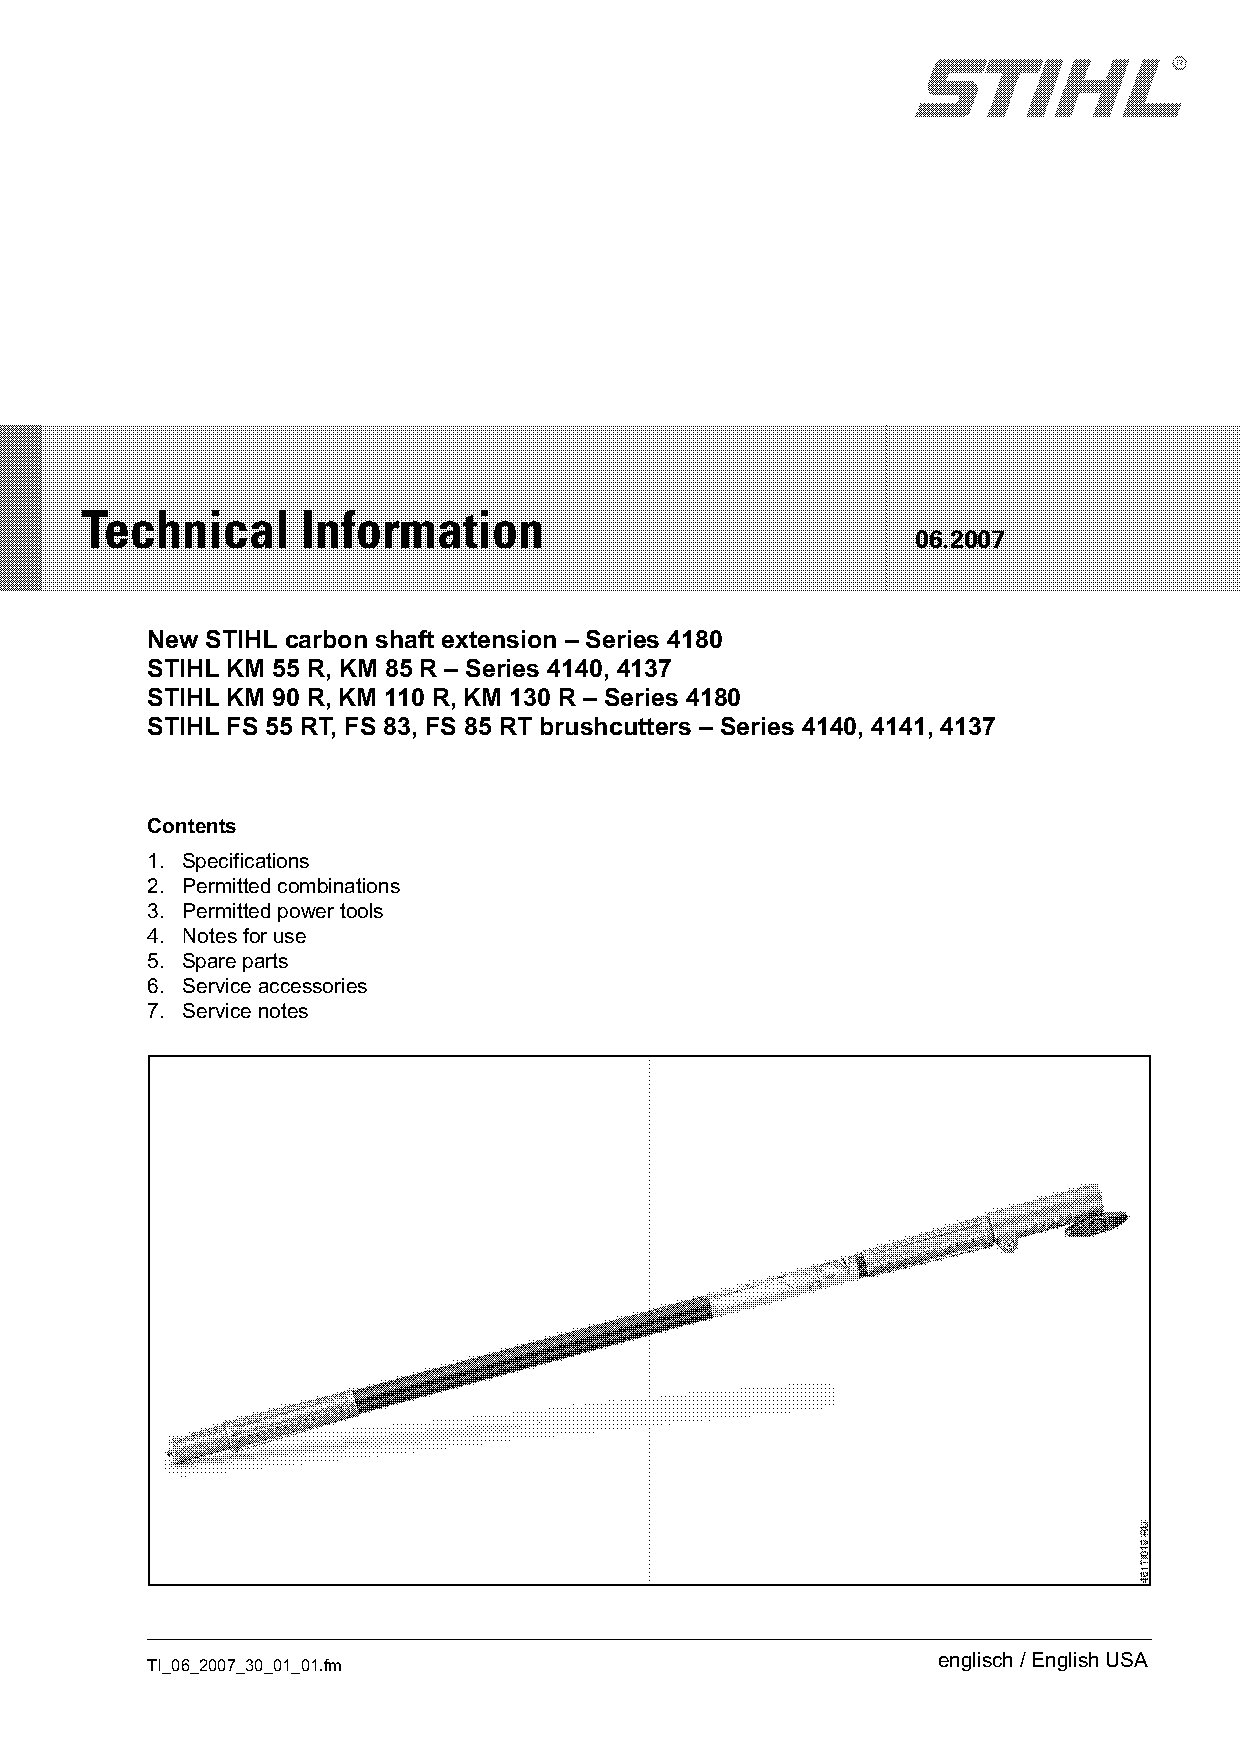
  New STIHL carbon shaft extension – Series 4180
  STIHL KM 55 R, KM 85 R – Series 4140, 4137
  STIHL KM 90 R, KM 110 R, KM 130 R – Series 4180
  STIHL FS 55 RT, FS 83, FS 85 RT brushcutters – Series 4140, 4141, 4137

  Contents
  1.   Specifications
  2.   Permitted combinations
  3.   Permitted power tools
  4.   Notes for use
  5.   Spare parts
  6.   Service accessories
  7.   Service notes

  TI_06_2007_30_01_01.fm                                           englisch / English USA
Page 2 of 4
Text of page 2 — search, copy, screen readers
Page 2                                                                    Technical Information 06.2007

The carbon shaft extension 4180 710 7107 is           Securely tighten the wing nuts on the shaft
available as a new accessory. The new, lightweight    extension and on the power tool.
shaft extension consists of a 39" (1m) carbon drive
tube and aluminium drive shaft.                       4.1     Overhead power cables
The weight of the shaft extension has been reduced
by 40 % compared with the previous version.
In addition to the pole pruner HT-KM, the shaft
extension may now also be mounted on the hedge

                                                            15
trimmer HL-KM 0° and HL-KM 135°.

                                                              m
                                                               (5
                                                                 0f
The shaft extension is mounted on the power tool in

                                                                   t)
the same way as the previous version.

1.       Specifications
Length                    39“ (1 m)
Weight                    1.87 lb (0.85 kg)
Drive shaft               Rigid                       Danger! Risk of Electrocution!
Shaft diameter            1 in (25.4 mm)
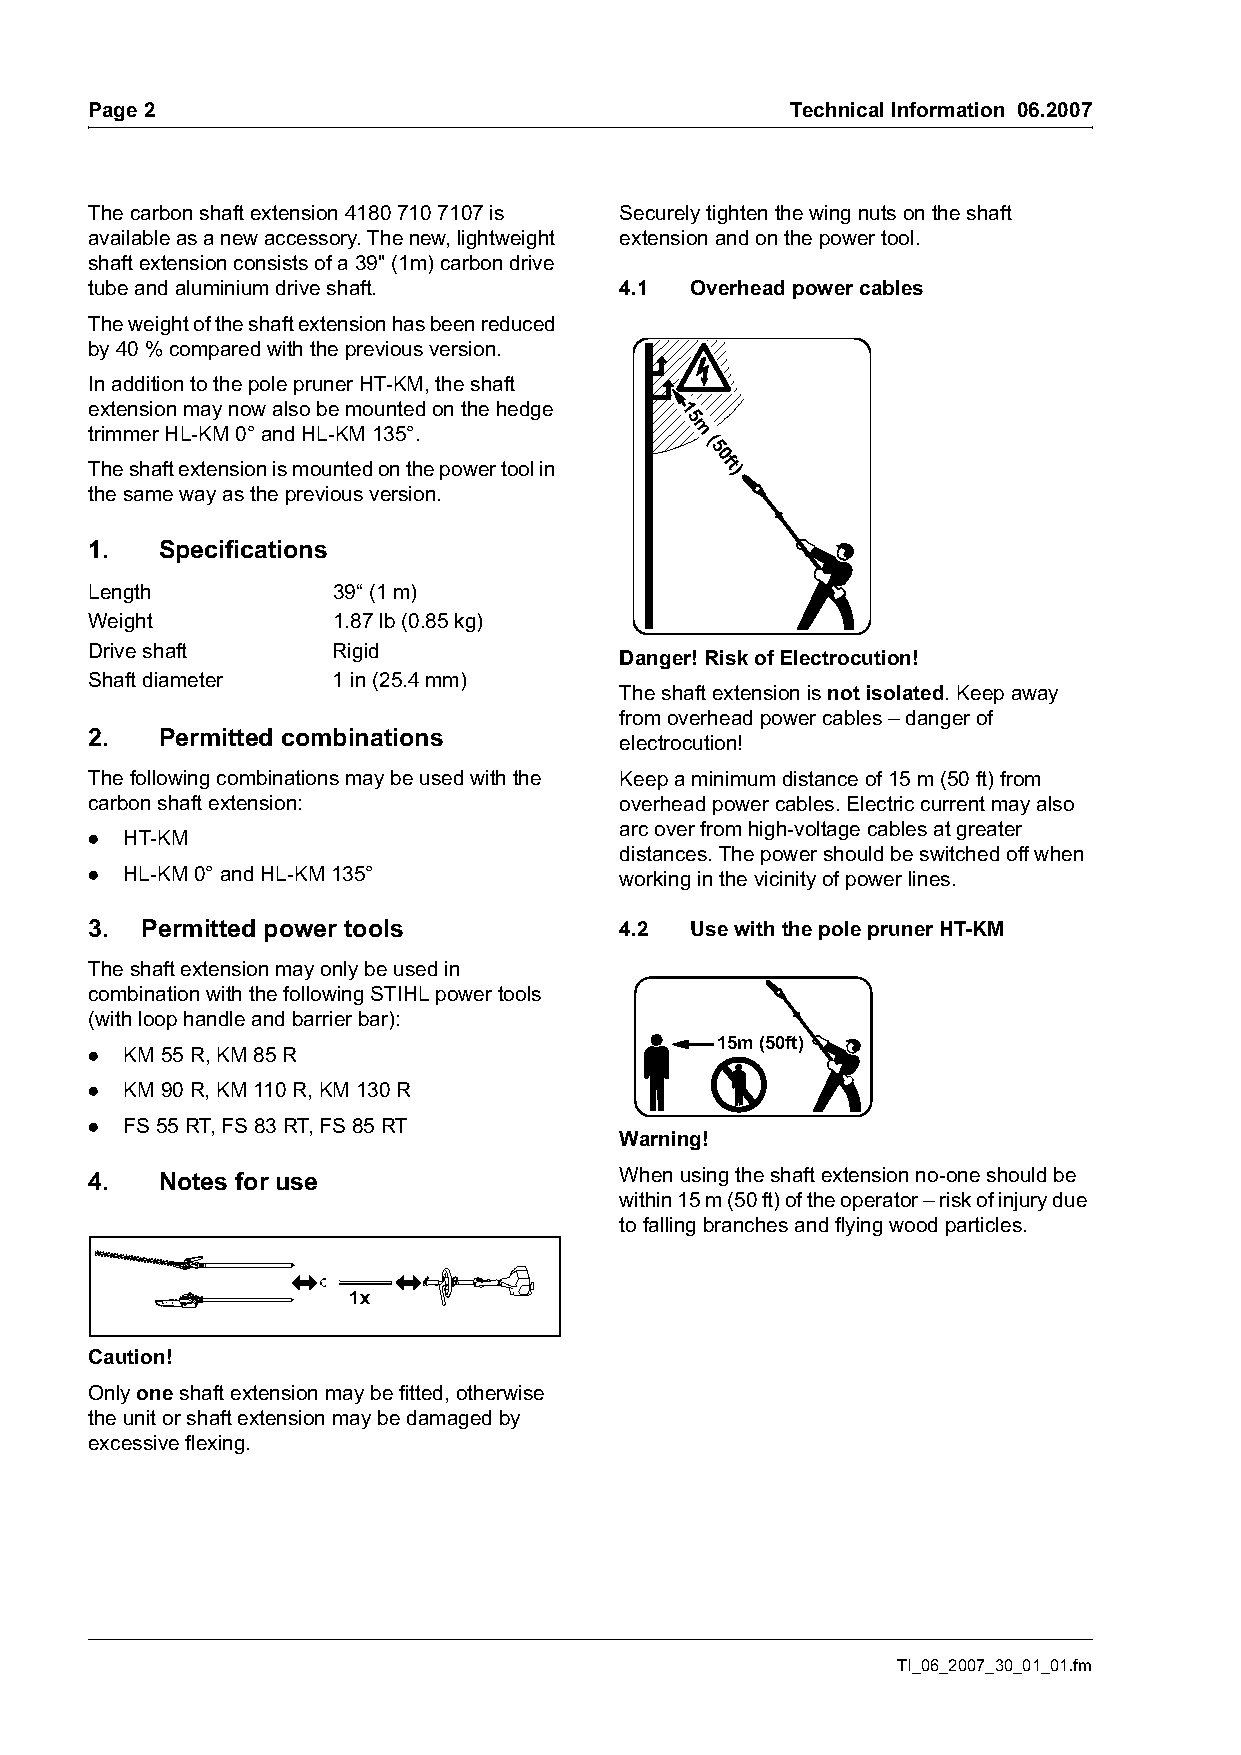
                                                      The shaft extension is not isolated. Keep away
                                                      from overhead power cables – danger of
2.       Permitted combinations                       electrocution!
The following combinations may be used with the       Keep a minimum distance of 15 m (50 ft) from
carbon shaft extension:                               overhead power cables. Electric current may also
.    HT-KM                                            arc over from high-voltage cables at greater
                                                      distances. The power should be switched off when
.    HL-KM 0° and HL-KM 135°                          working in the vicinity of power lines.

3.    Permitted power tools                           4.2     Use with the pole pruner HT-KM
The shaft extension may only be used in
combination with the following STIHL power tools
(with loop handle and barrier bar):
                                                                  15m (50ft)
.    KM 55 R, KM 85 R
.    KM 90 R, KM 110 R, KM 130 R
.    FS 55 RT, FS 83 RT, FS 85 RT
                                                      Warning!

4.       Notes for use                                When using the shaft extension no-one should be
                                                      within 15 m (50 ft) of the operator – risk of injury due
                                                      to falling branches and flying wood particles.


Caution!
Only one shaft extension may be fitted, otherwise
the unit or shaft extension may be damaged by
excessive flexing.

                                                                                       TI_06_2007_30_01_01.fm
Page 3 of 4
Text of page 3 — search, copy, screen readers
Technical Information 06.2007                                                                              Page 3

4.3      Use with hedge trimmers                               5.      Spare parts
         HL-KM 0° and HL-KM 135°
                                                               The carbon shaft extension is included in the spare
                                                               parts lists for the KM 55 R, KM 85 R, KM 90 R,
                                                               KM 100 R and KM 130 R.

            10m (34ft)
                                                               6.      Service accessories
                                                               Aids
                                                               Multi-purpose grease      Refer to section. 7.5,
Warning!
                                                               0781 120 1109             Greasing the plastic
When using the shaft extension no-one should be                                          sleeve
within 10 m (34 ft) of the operator – risk of injury due
to the moving cutting blades and falling trimmings.

7.       Service notes

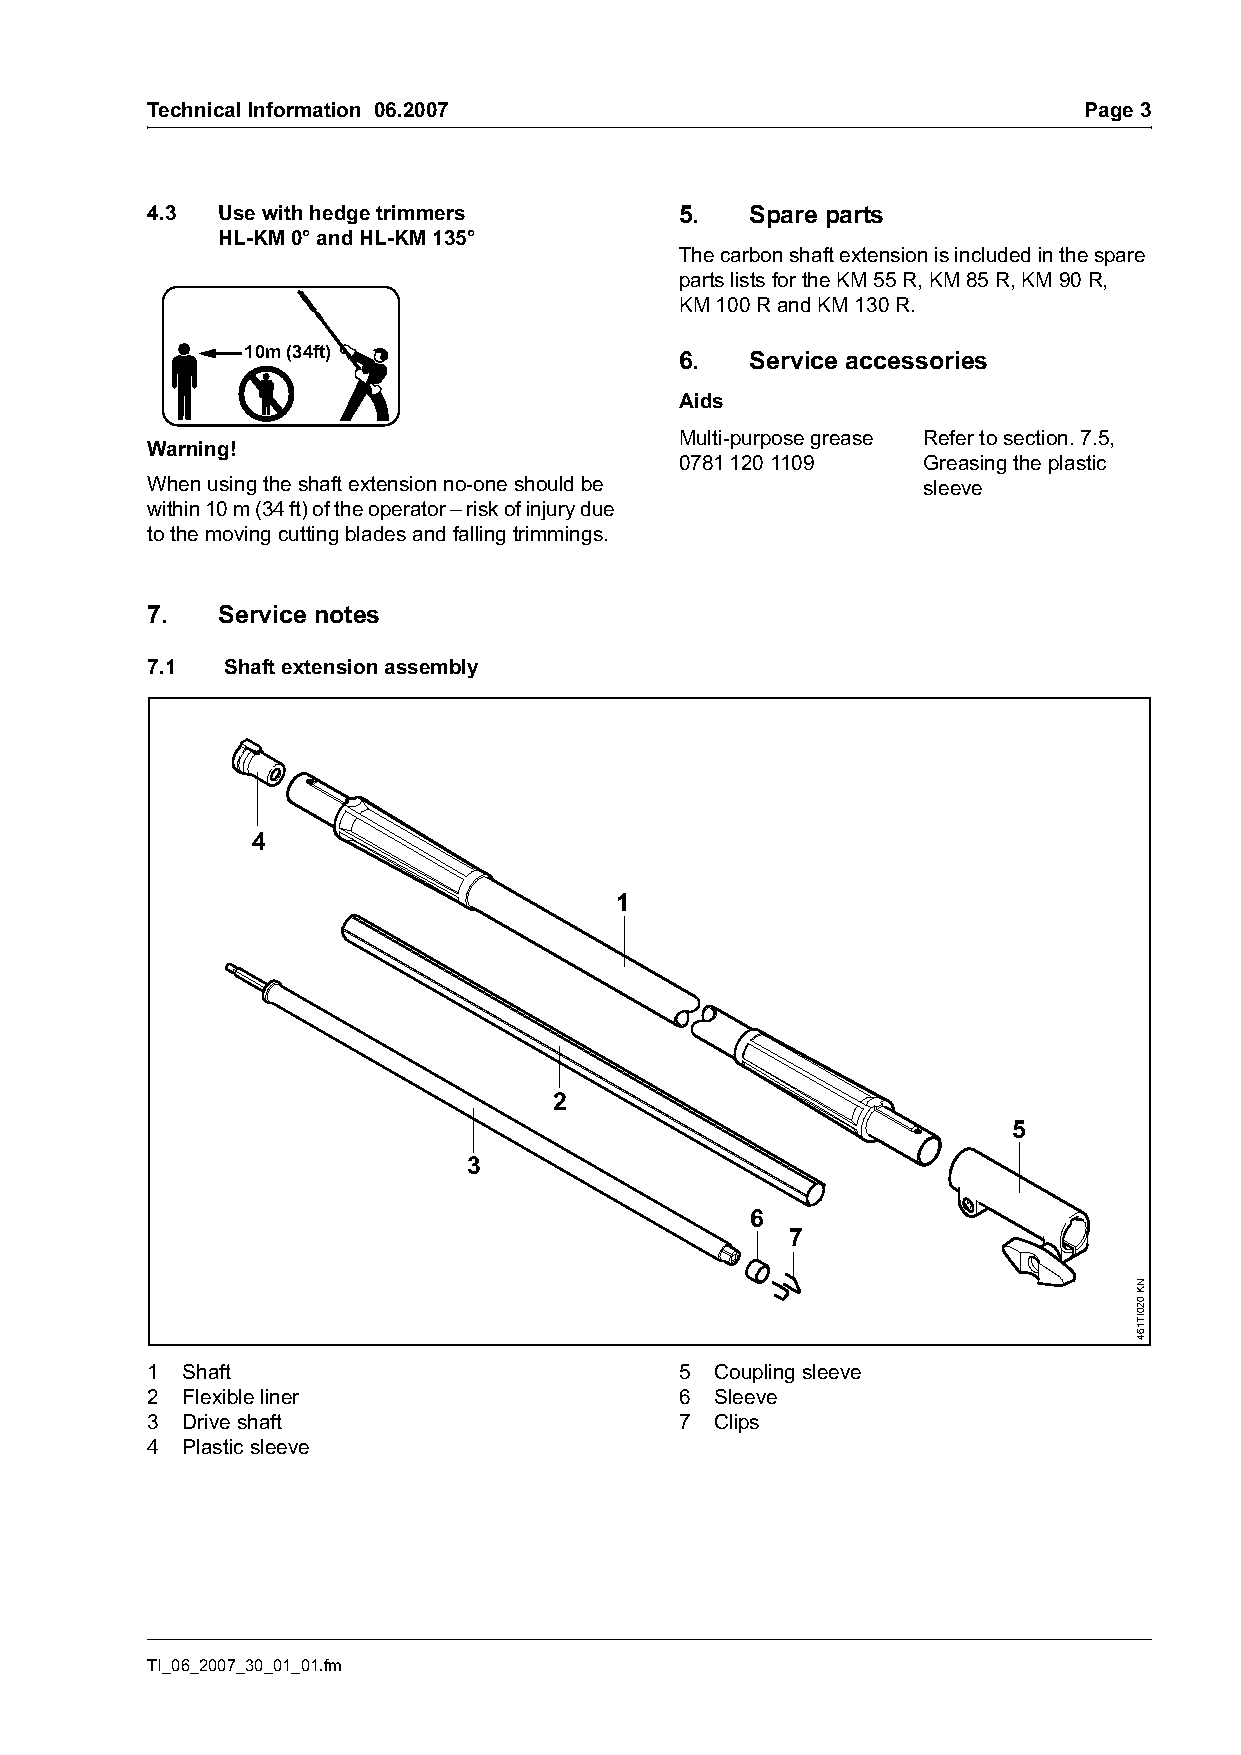
7.1       Shaft extension assembly


                                                2
                                                                                                   5
                                      3

                                                                       6
                                                                           7
                                                                                                                  461TI020 KN

1     Shaft                                                    5    Coupling sleeve
2     Flexible liner                                           6    Sleeve
3     Drive shaft                                              7    Clips
4     Plastic sleeve

TI_06_2007_30_01_01.fm
Page 4 of 4
Text of page 4 — search, copy, screen readers
Page 4                                                                                       Technical Information 06.2007

7.2         Tensioner 5910 890 8800                                    .     Insert the drive shaft and flexible liner into the
Tensioner 5910 890 8800 should be used when                                  drive tube, turning the flexible liner until it slides
carrying out repairs to the shaft extension, to avoid                        in freely
damaging the carbon drive tube.                                        .     Tighten the screw on the coupling sleeve to a
                                                                             torque of 8 Nm
7.3         Clips 4140 716 2200
To enable the quick-action coupling to function
correctly, the clips 4140 716 2200 must not be worn                    7.5       Greasing the plastic sleeve
or bent.
When carrying out repairs, always inspect the clips
and replace them if necessary. Refer to section 7.4.

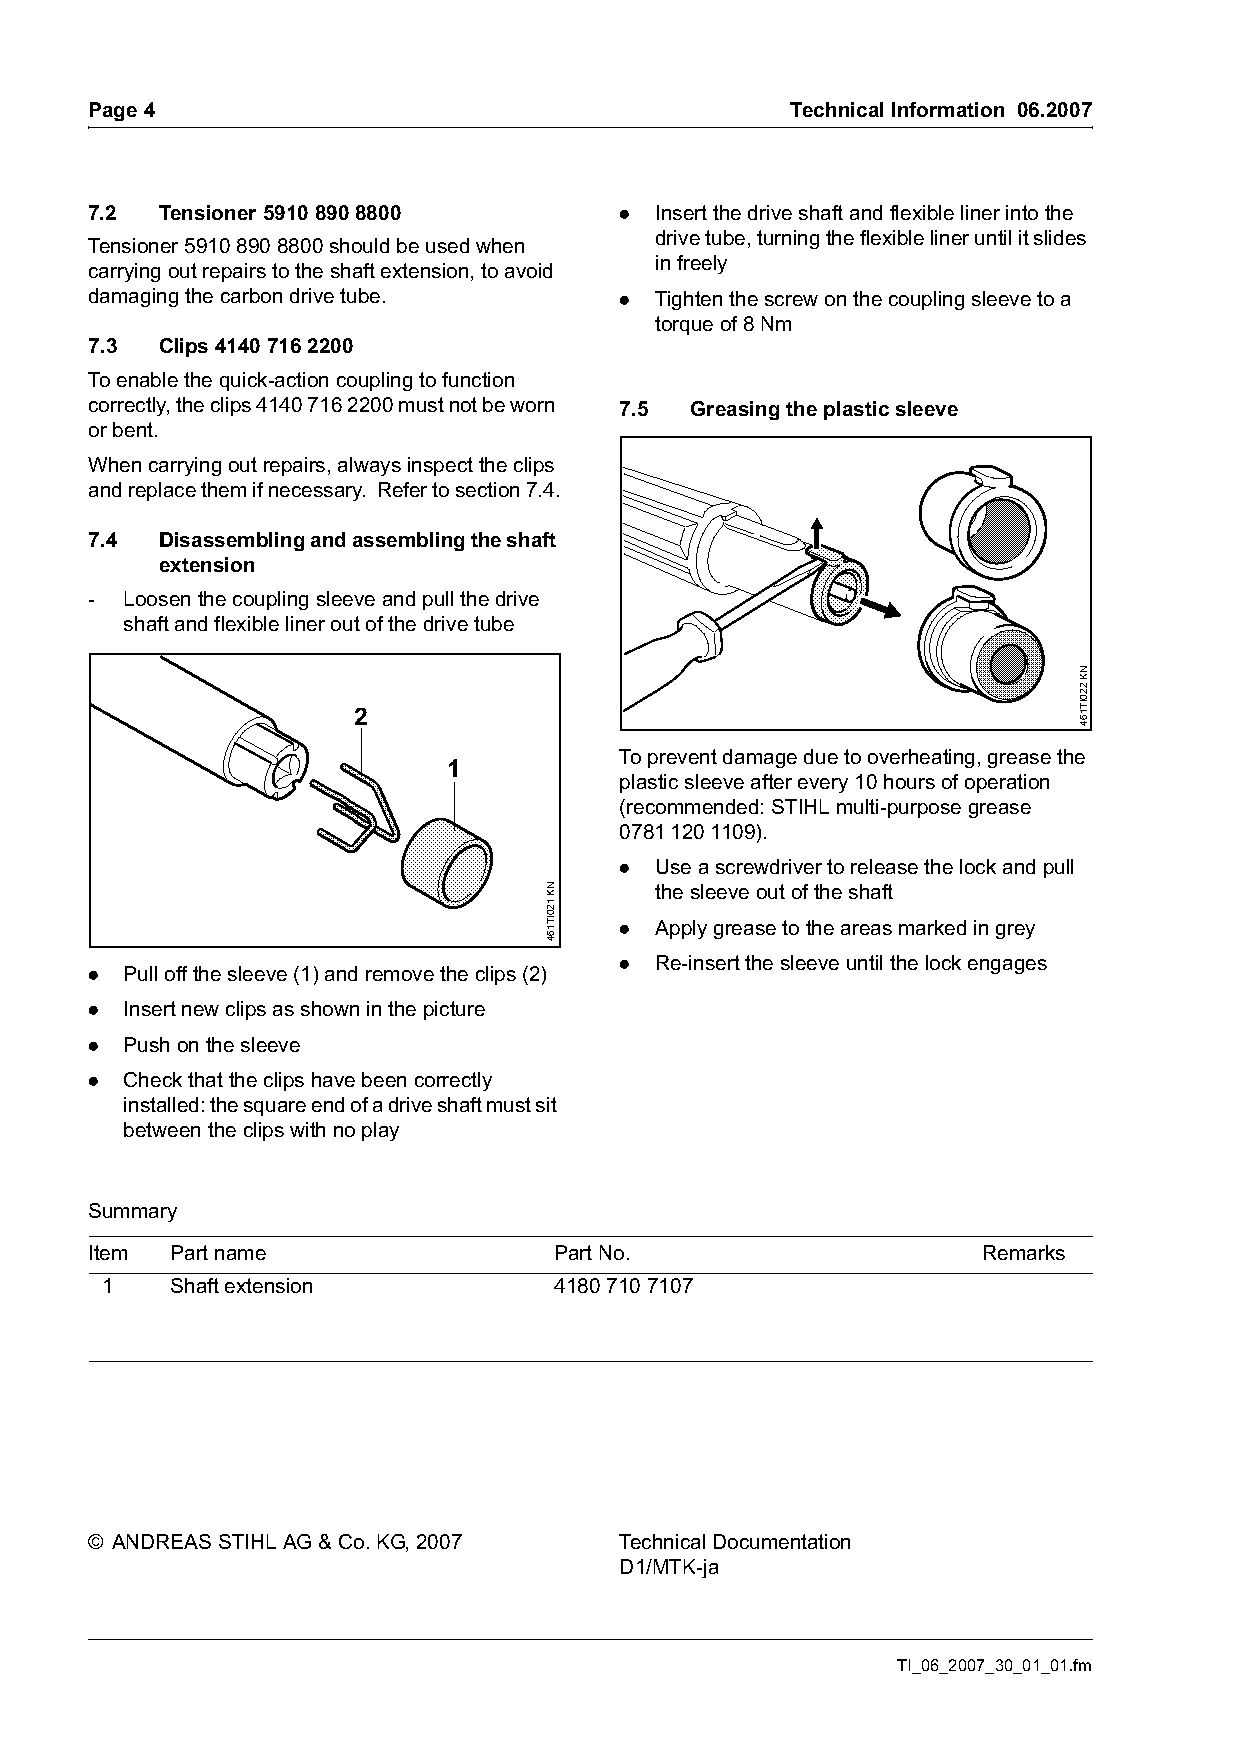
7.4         Disassembling and assembling the shaft
            extension
-       Loosen the coupling sleeve and pull the drive
        shaft and flexible liner out of the drive tube

                                                                                                                                 461TI022 KN
                                   2
                                                                       To prevent damage due to overheating, grease the
                                              1                        plastic sleeve after every 10 hours of operation
                                                                       (recommended: STIHL multi-purpose grease
                                                                       0781 120 1109).
                                                                       .     Use a screwdriver to release the lock and pull
                                                                             the sleeve out of the shaft
                                                         461TI021 KN

                                                                       .     Apply grease to the areas marked in grey

.       Pull off the sleeve (1) and remove the clips (2)               .     Re-insert the sleeve until the lock engages

.       Insert new clips as shown in the picture
.       Push on the sleeve
.       Check that the clips have been correctly
        installed: the square end of a drive shaft must sit
        between the clips with no play

Summary

Item         Part name                                           Part No.                                            Remarks
    1        Shaft extension                                     4180 710 7107

© ANDREAS STIHL AG & Co. KG, 2007                                      Technical Documentation
                                                                       D1/MTK-ja

                                                                                                           TI_06_2007_30_01_01.fm
Most of these PDFs embed fonts with a shifted character map, so the text above was recovered rather than copied — read it as a faithful but imperfect transcription, and treat the page image above each block as the authority where the two disagree — the figures exist only there, because they are vector drawings that text extraction cannot keep.